You’re going to love this all natural homemade vicks vapor rub salve There are some “tried and true” remedies that we are so used to using, because our mothers and grandmothers used them, and we tend to just stick to the same things they did, without questioning.
Related- DIY Vaporub Shower Bombs
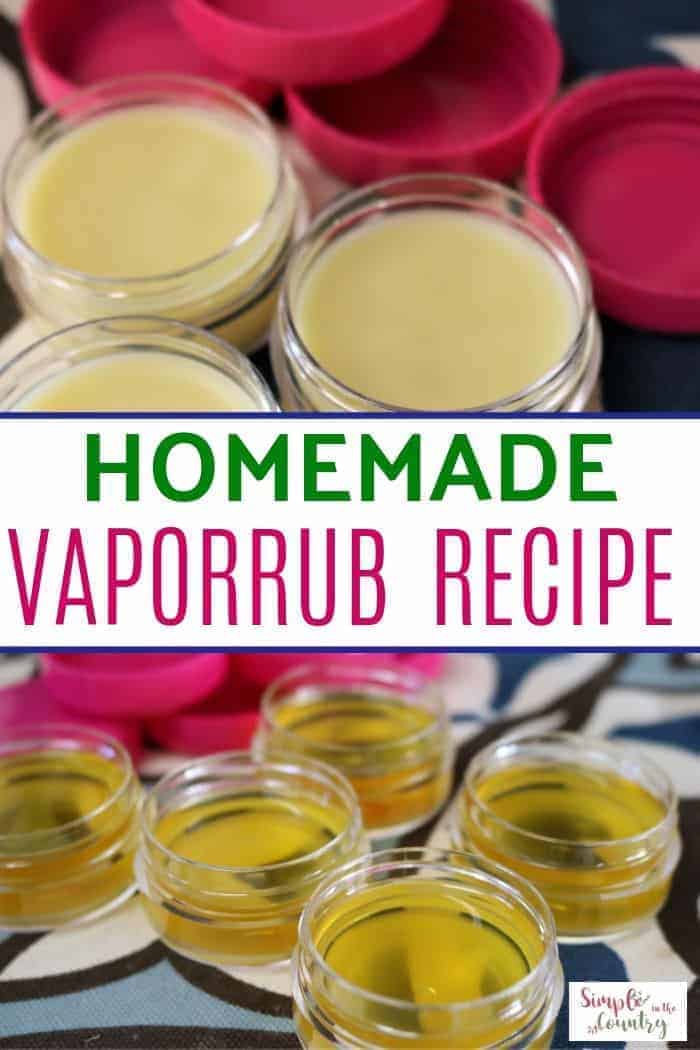
All Natural Homemade Vapor Rub
But what if some of those could be updated in order for us to live healthier lives? Vapor rubs are one of those remedies that needs a makeover.
Did it work? Sure it did, but does it contain toxic chemicals and ingredients that are unhealthy for our families? You bet it does.
So, why not make a new version that contains all-natural ingredients and uses essential oils for the same effect, and be able to know it can only help and not hinder or cause side-effects in the process.
This recipe is easy to make and you can double it if you’d like to make some extras to have on hand or give away.
It uses 4 essential oils, all of which have great cleansing benefits and are wonderful for opening up your airways and helping to clear your sinuses.
Use it on the bottoms of the feet, on the chest, dot under the nose and put on neck if needed.
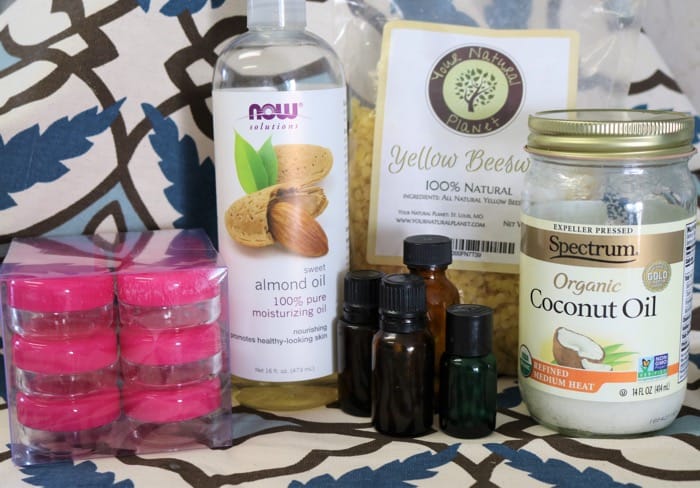
Supplies needed to make natural vapor rub
- 3 to 5 lidded salve containers – You can upcycle some, or buy them at your local craft store
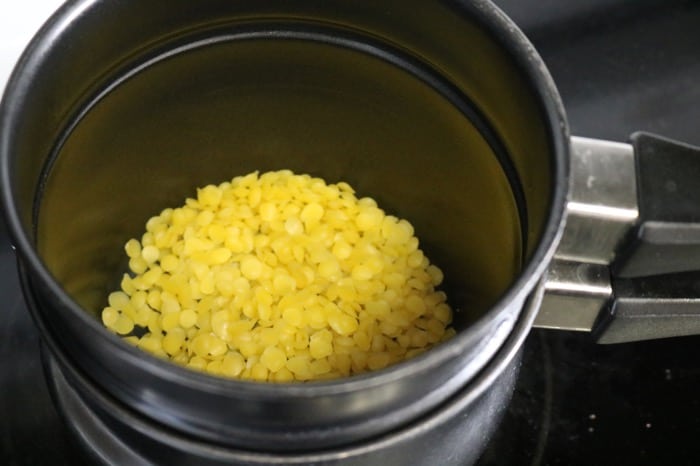
- 1.5 oz. beeswax pastilles
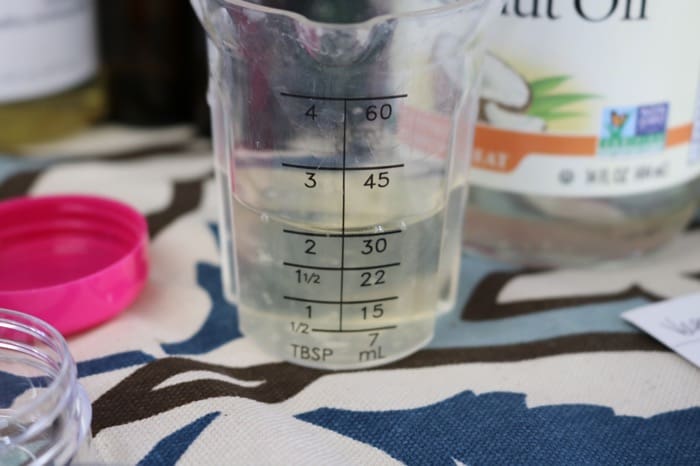
- 2 tbsp. organic coconut oil
- 3 tbsp. sweet almond oil
- 20 drops eucalyptus essential oil
- 13 drops rosemary essential oil
- 15 drops peppermint essential oil
- 12 drops lemon essential oil
how to make all natural vapor rub
Using a double boiler, melt your beeswax slowly over medium to high heat. Once the wax begins to melt, turn the heat down to low, as you do not want to overheat it, or have the water boil over from the bottom.
While it is melting, measure out your coconut oil and almond oils and line up your containers so they are ready to go.
Stir to be sure all lumps are melted in the beeswax, and then go ahead and add in the coconut oil. Stir after a minute of melting time, until it is all clear in color.
Then, add in the sweet almond oil. Melt all together and once it’s clear, add the essential oils.
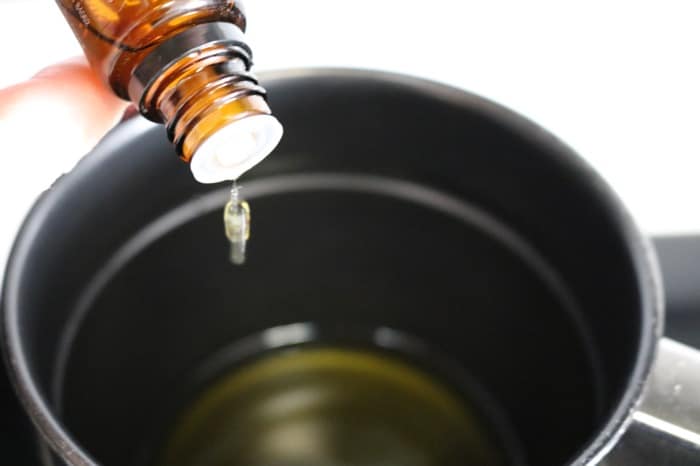
Be careful not to over- do the oil drops, as several of these oils are very thin and runny.
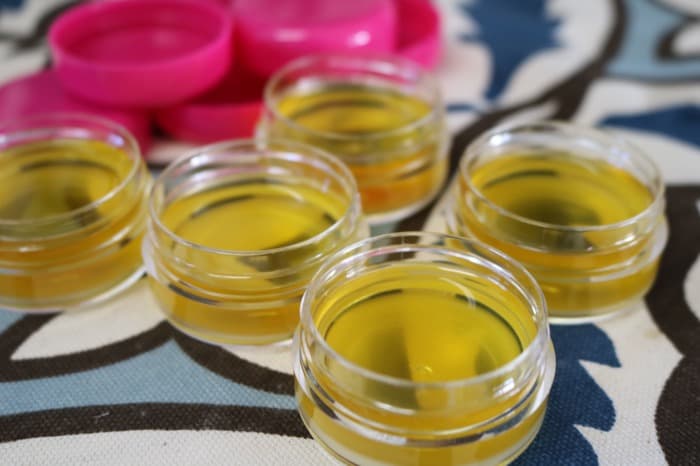
Once you have the oils in and stir well, you can go ahead and pour into your containers, filling to just below the top.
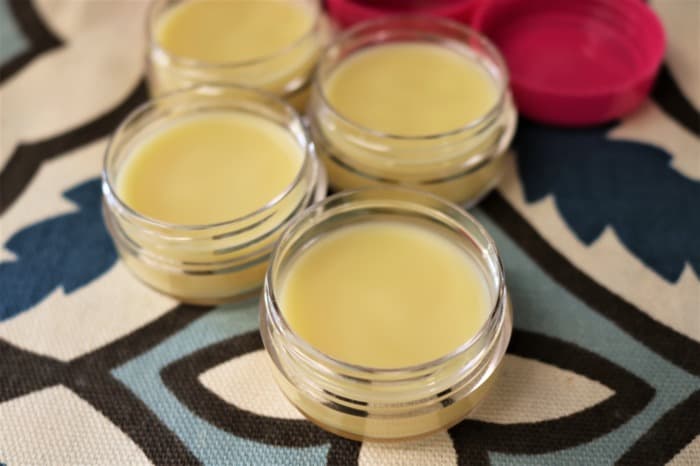
Let them sit out at room temperature for around 45 minutes to an hour, to be sure they are fully cooled down before putting your lids on, or moisture can build up inside the container.
Feel the bottom centers of the containers to see if they are cool all the way.
Label them and you’re all set to go!
Natural Homemade Vapor Rub
Simple and easy all natural homemade vapor rub
Materials
Tools
- Double boiler
Instructions
- Using a double boiler, melt your beeswax slowly over medium to high heat. Once the wax begins to melt, turn the heat down to low, as you do not want to overheat it, or have the water boil over from the bottom.
- While it is melting, measure out your coconut oil and almond oils and line up your containers so they are ready to go.
- Stir to be sure all lumps are melted in the beeswax, and then go ahead and add in the coconut oil. Stir after a minute of melting time, until it is all clear in color. Then, add in the sweet almond oil. Melt all together and once it’s clear, add the essential oils.
- Be careful not to over- do the oil drops, as several of these oils are very thin and runny.
- Once you have the oils in and stir well, you can go ahead and pour into your containers, filling to just below the top.
- Let them sit out at room temperature for around 45 minutes to an hour, to be sure they are fully cooled down before putting your lids on, or moisture can build up inside the container. Feel the bottom centers of the containers to see if they are cool all the way.